Create Your First Wochit Video
Let’s Make Your First Video Together
In this short guide, we’ll recreate a video step-by-step, so that you can get a better understanding of how easy it is to create a video with Wochit.
The video we’ll be creating is based on the following example:
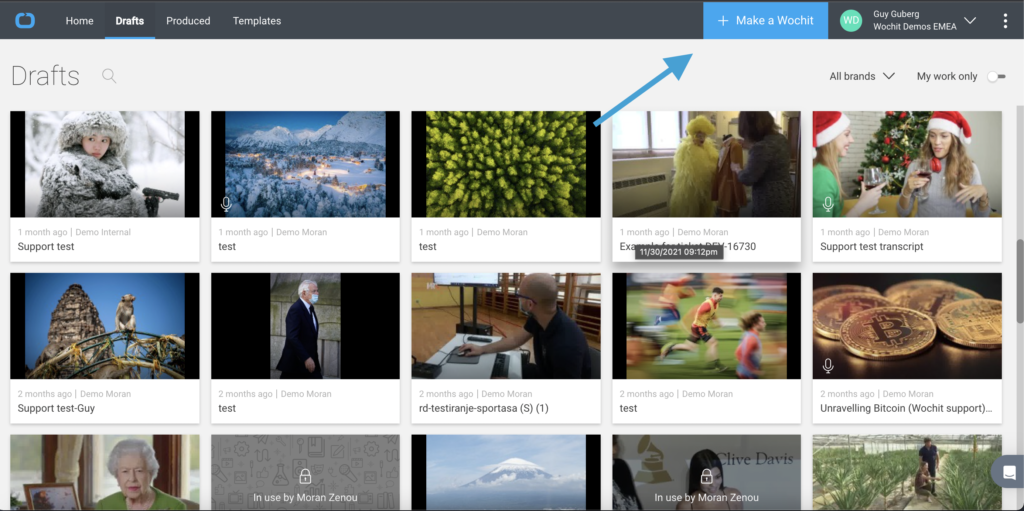
To begin, we need to create a new project which we can do using the Make New Wochit button on the upper right side of the Home.
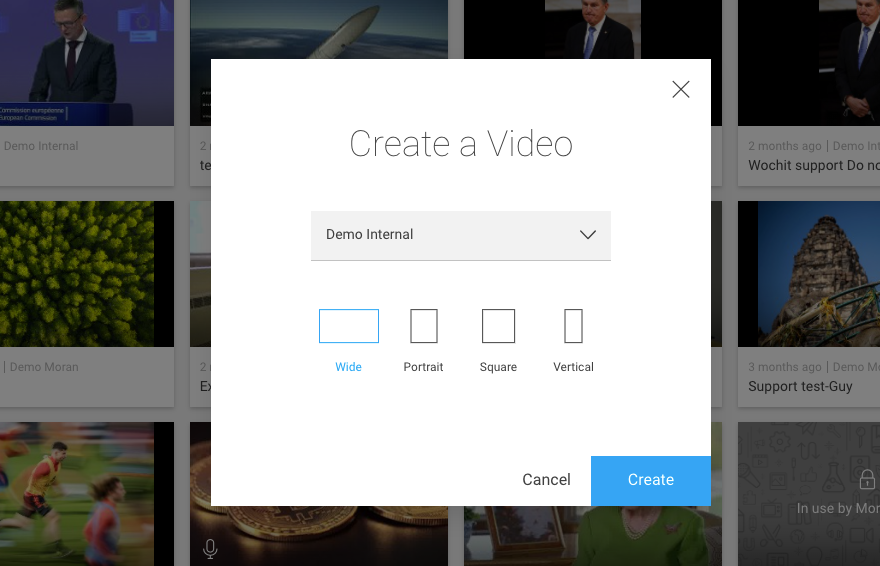
- From the new open panel, you can select your brand and the video aspect ratio and click Create
Step 1 – Media Collection
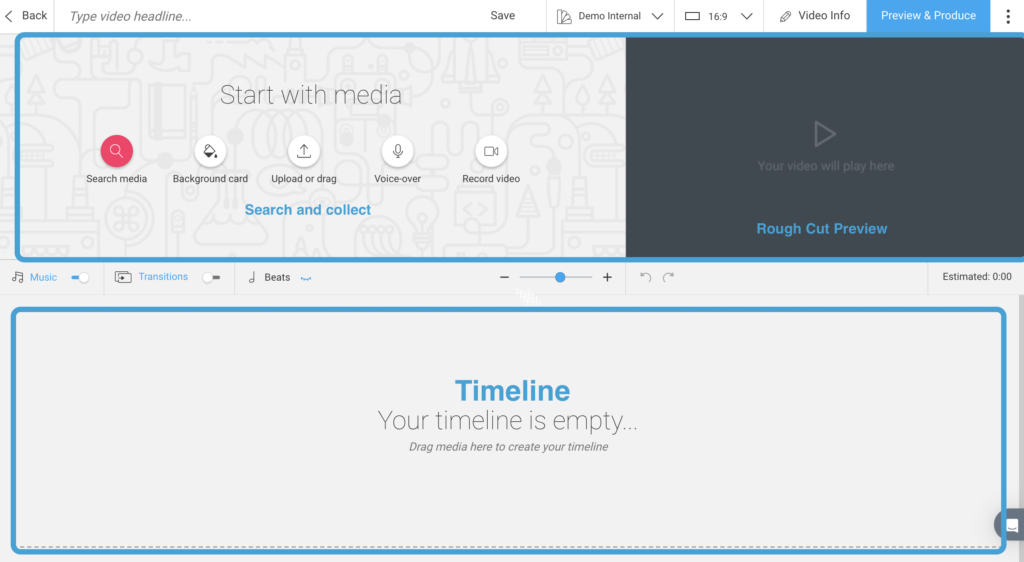
- After starting a new project you will be taken to the Timeline. To add media, select Search Media from the Lightbox.
- This will bring you to the Media Gallery, for this example I’ll type in Melon and hit enter. From here you can search through the Wochit gallery and add media to your Lightbox. Let’s look for 2 still images for this one.
- To add media, click on one of the Image thumbnails and then click on Add to Lightbox. OR simply hover or an image and click on the plus sign to add it to your Lightbox from the gallery.
- Pick four more of your favorite picnic treats (we chose burgers, potato salad, berries, and melon). Then click on the X in the top right corner to close the media gallery and return to the Timeline.
- We’ll also need a 6th image to use as our intro slide. We can choose an image of a bountiful picnic spread (try searching ‘picnic’).
Step 2 – Timeline Editing
Now comes the fun part!
- Click and drag your chosen images down from the Lightbox on the top left, and place them in the order you want them on the Timeline.

- You can extend or shorten the length of the assets.
- Once you’ve placed your images, hover over the first image and click ‘edit’.
- Click ‘Text’ and add the video title (“5 Foods for a Perfect Summer Picnic”).
- Then, add text to the rest of the assets. Be creative!
Step 3
Next it’s time to add music.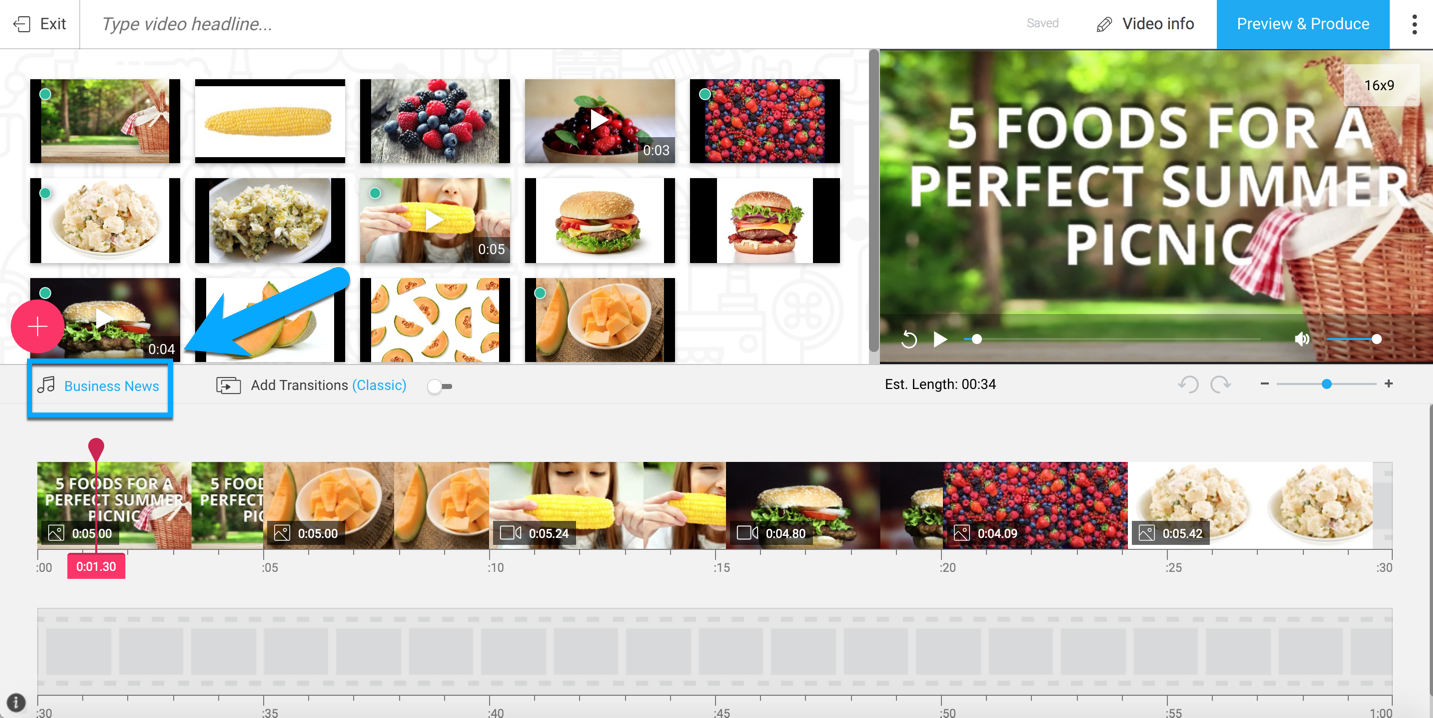
- Below the Lightbox, click on the title of the sound track to open up our music library & choose a track that suits your video best.
Step 4 – Preview & Produce
We’re almost done… Are you ready to publish?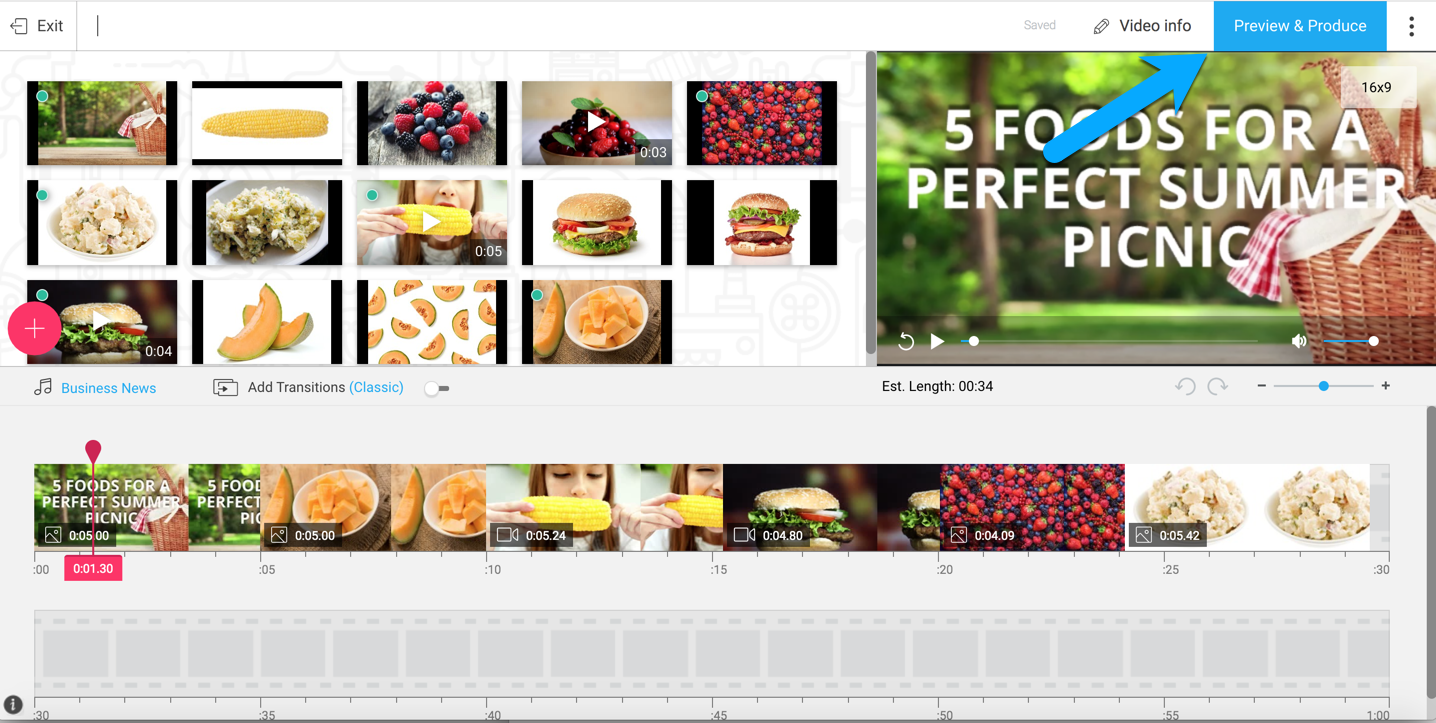
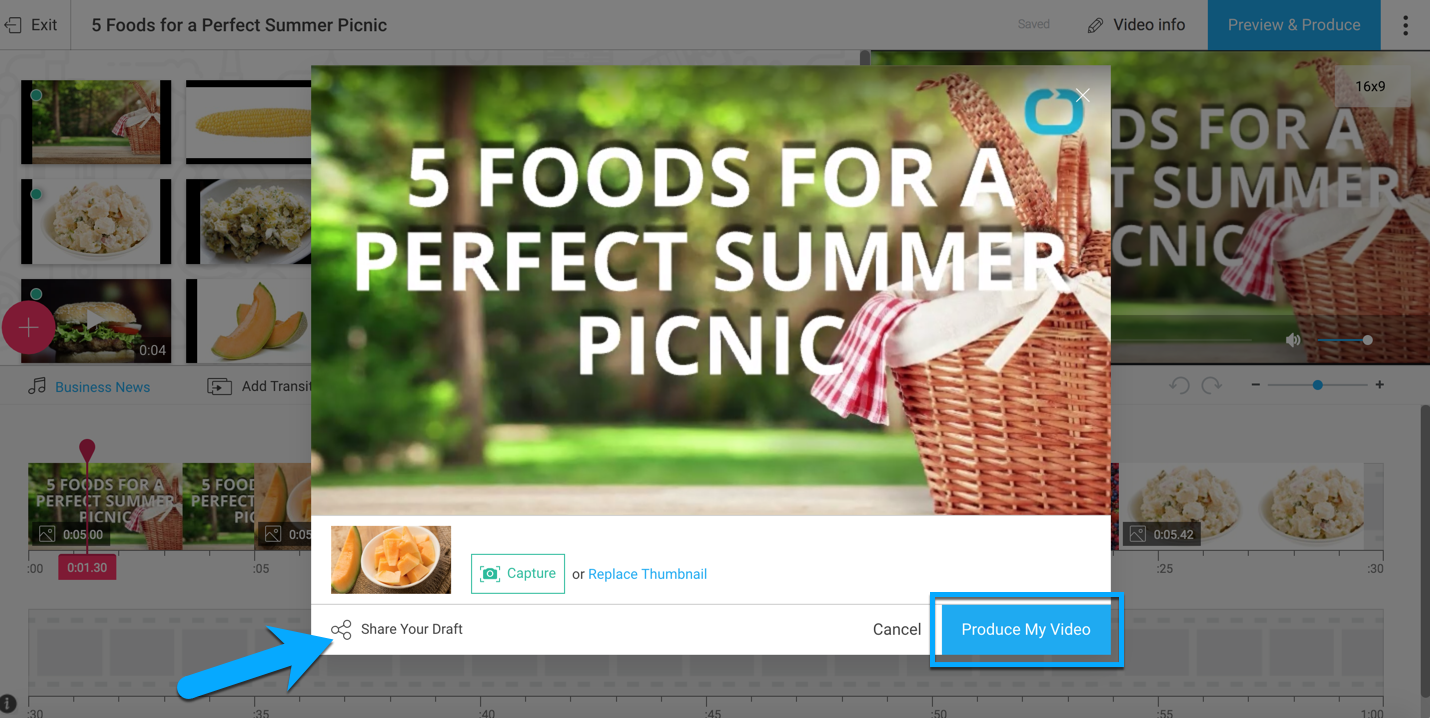
- Preview your video by clicking on ‘Preview & Produce My Video’
- You have the option to share a draft link with colleagues to get their feedback before producing.
- When you’re ready to submit the video, click ‘Produce My Video’ & you are done!
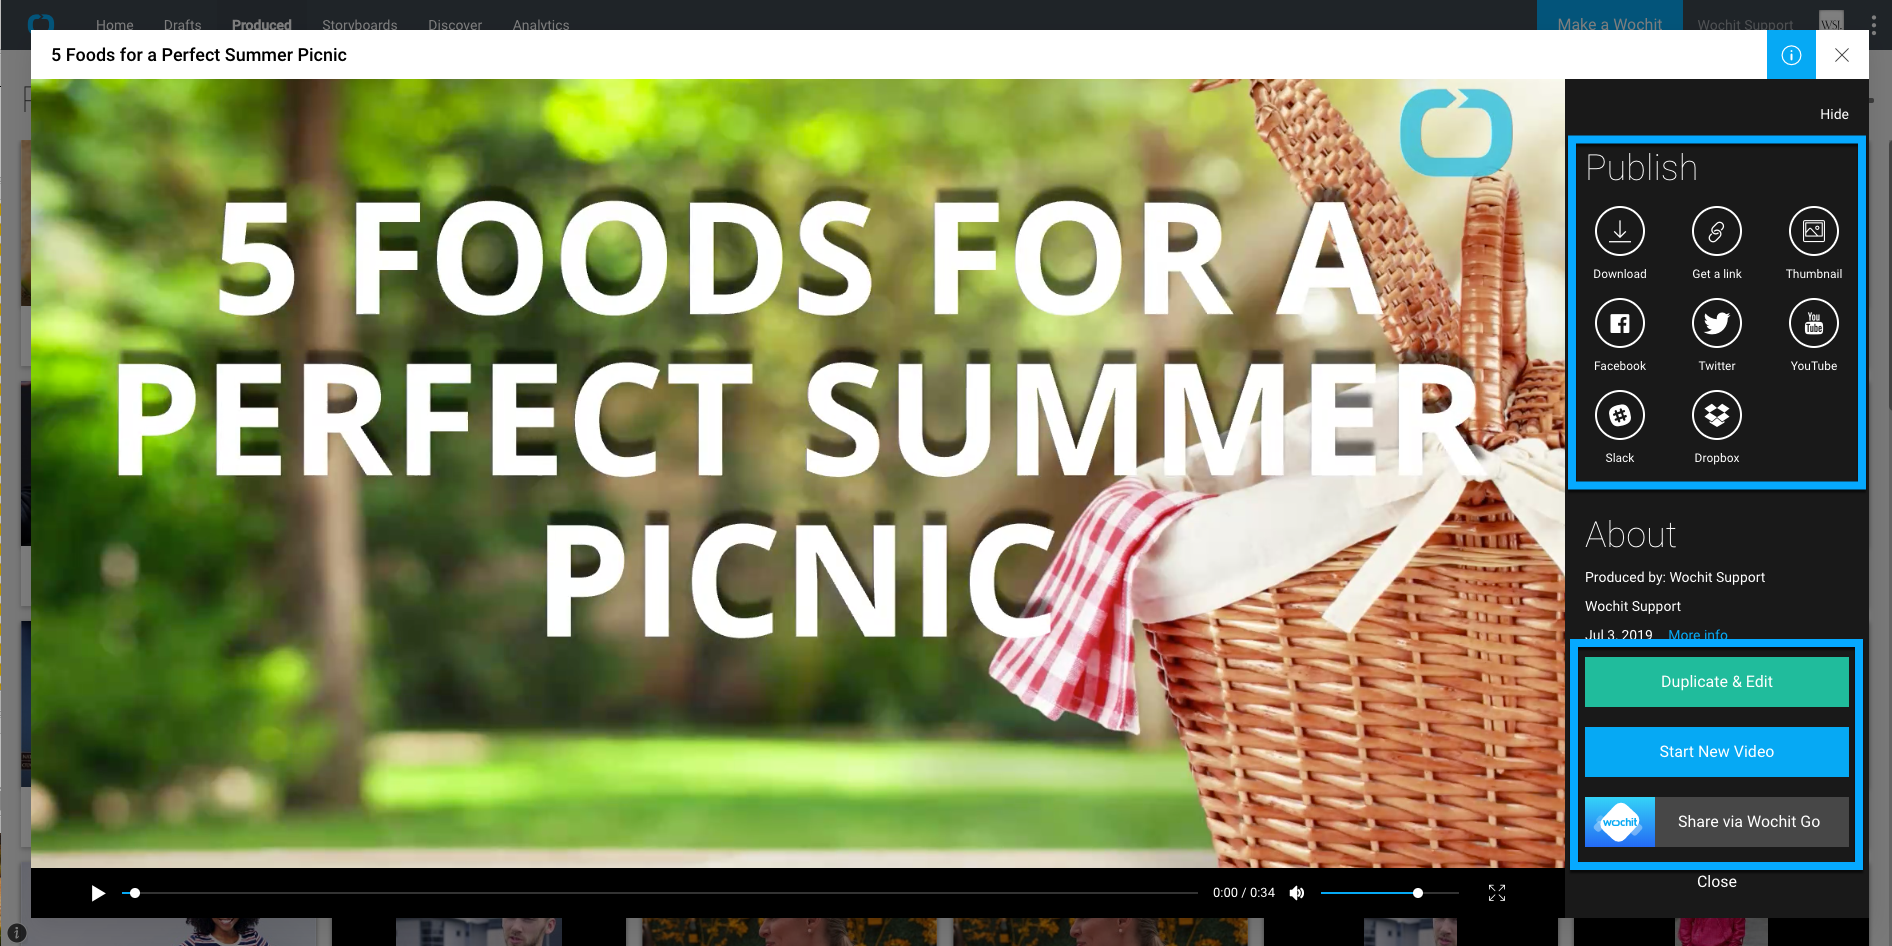
CONGRATULATIONS!
You just made your first Wochit video!
From the Produced video tab on the Home screen, you can download your video or upload it to one of your social media accounts.
Let’s get started
EXCELLENT! THANKS.
Watch your inbox (and spam folder, just in case).
We look forward to connecting with you soon.
Schedule a demo
EXCELLENT! THANKS.
Watch your inbox (and spam folder, just in case).
We look forward to connecting with you soon.