Capture Tool
Wochit is proud to introduce our Capture tool, which allows you to both record your face on camera directly within the platform and record any screen on your computer, complete with audio.
There are two ways to begin a face on camera recording or screen recording using Capture.
When starting a new video from scratch, you can click the “Record Video” button in the Lightbox.
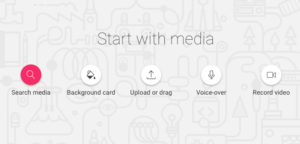
Alternatively, you can access this button by entering the Media Library. Next to the search bar, click the “Upload” button and choose “Record Video.”
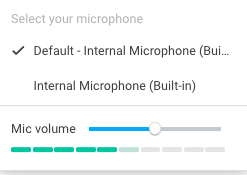
After choosing one of the two ways above to start, select your microphone and microphone volume.
Next, choose a video source: in this case, a video camera, or “Screen Recording”
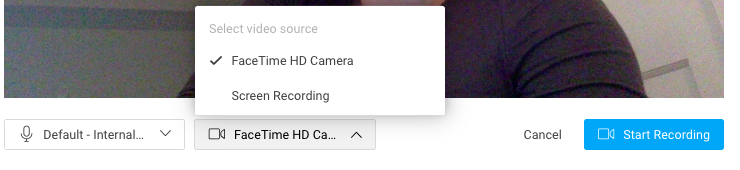
Face on camera:
- If you choose your video camera, you will prompt a face on camera recording.
- When you’re ready, click “Start Recording” and record your bit!
- When you’re done recording, you can play back the clip to make sure it’s what you want
- Finally, click “Upload!”
- Within seconds, your clip will be added to the Uploads section of your Media Library and downloaded to your computer. Or, if you started from your Lightbox, the recording will also be found in your Lightbox.
- When the clip is done rendering, you can click on the asset to see a description. There, you will also find a rough transcription of the recording, based in the language in which your computer is set.
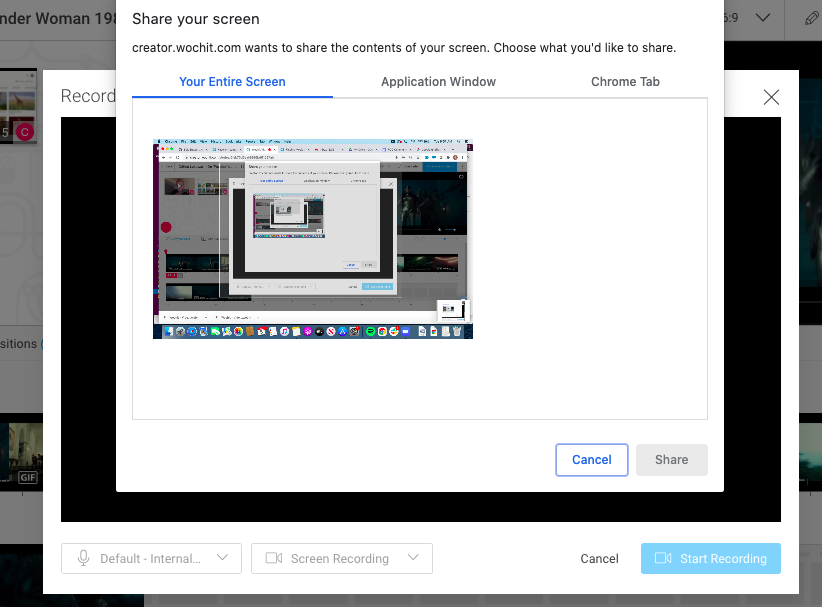
Screen Record:
- If you choose “Screen Recording,” a pop-up will appear that asks what you’d like to record: your entire screen, a browser tab, or an application window
- Once you select which option, the recording will begin: you can narrate over the recording, make changes with your cursor to the screen, and scroll through whichever page or application you have chosen.
- When you are done, click “Stop” and navigate back to your Wochit platform browser tab. There, you can rewatch the recording and Download the clip, Start Over, or Save.
- Saving the clip will automatically download the clip to your computer; save the clip to your Lightbox; and add the clip to the Uploads section of your Media Library.
- When the clip is done rendering, you can click on the asset to see a description. There, you will also find a rough transcription of the recording, based in the language in which your computer is set.
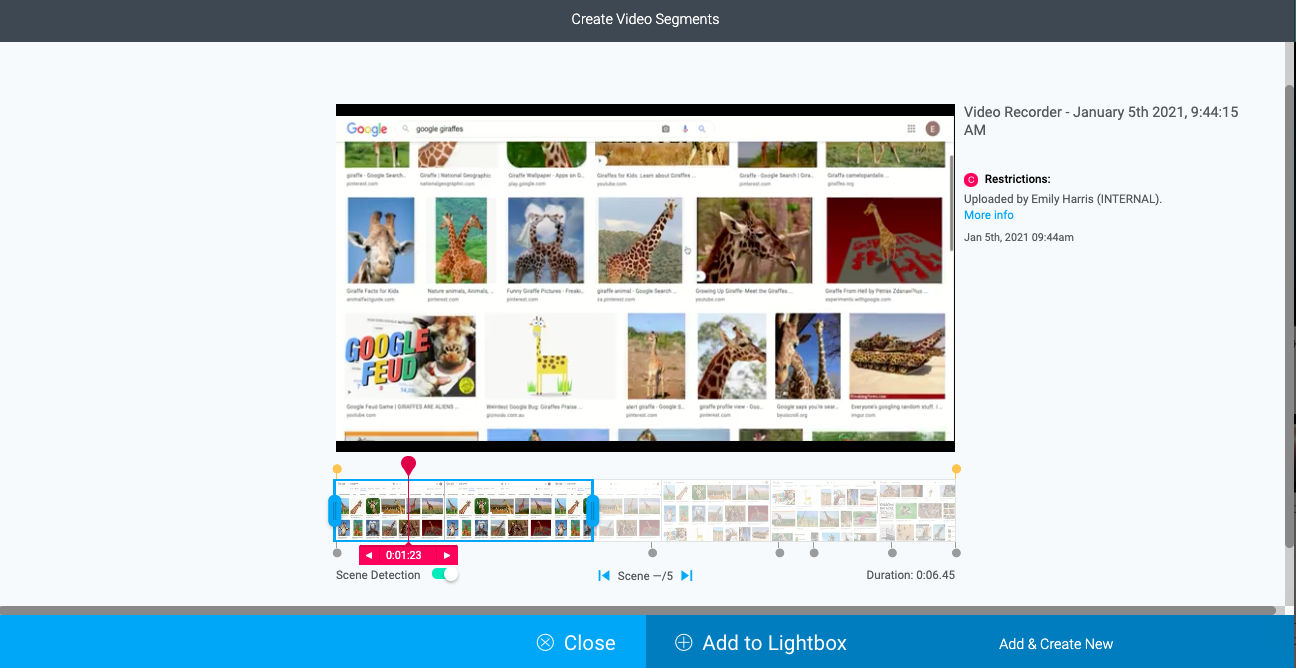
For both options, you can select segments of the video you’ve created to add to your Lightbox. To do so:
- Click on the asset either in the Lightbox or the Media Library
- Select “Original Video” in the upper righthand corner of the screen
- As when you edit any video clip from the Media Library, with your recording you can pull the handles along the timeline and choose segments to add to your Lightbox. Colored markers will designate which segments from the entire clip you have already added to your Lightbox.
Let’s get started
EXCELLENT! THANKS.
Watch your inbox (and spam folder, just in case).
We look forward to connecting with you soon.
Schedule a demo
EXCELLENT! THANKS.
Watch your inbox (and spam folder, just in case).
We look forward to connecting with you soon.